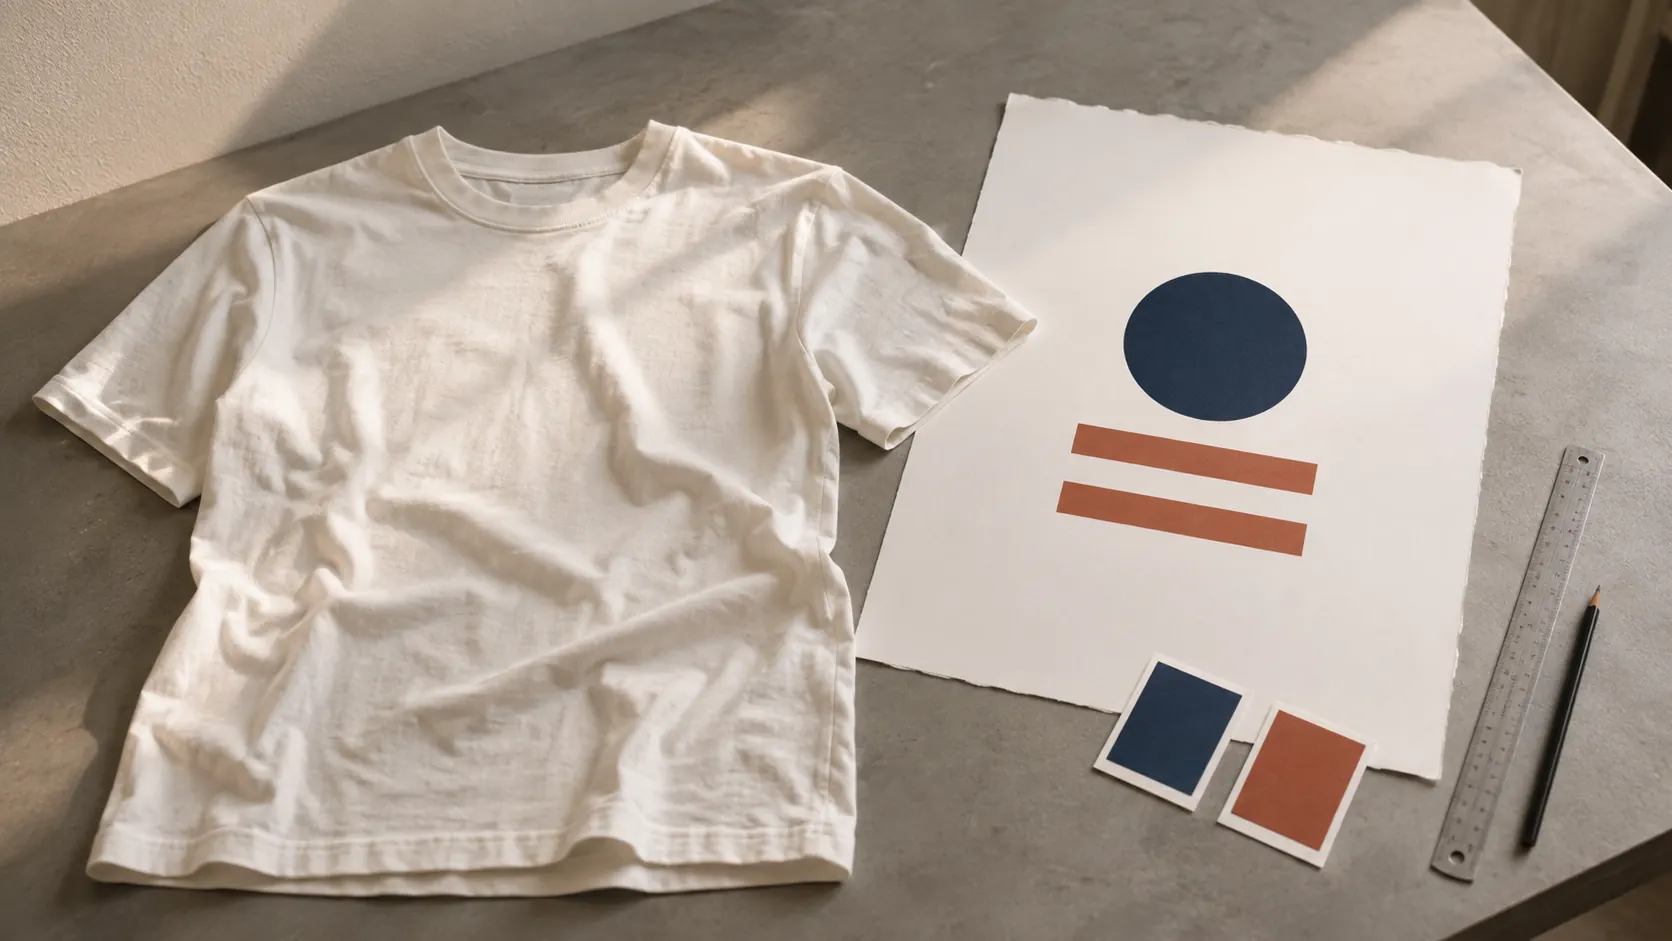
Prepare screen-printing artwork with a practical checklist for source files, print dimensions, resolution, fonts, colours, placement and revision control.
A T-shirt mock-up shows an idea. An artwork handoff needs to explain what should be printed, at what size, where it belongs and which design version is current. Those are different jobs: a convincing mock-up can still hide a low-resolution image, a missing font or an undecided print position.
To prepare artwork for screen printing, send the editable design or an agreed exchange file, state the final print dimensions, check image resolution at that size, resolve fonts and linked assets, and include a labelled placement preview and revision note. Confirm production requirements with the decorator before treating the artwork as approved.
This guide focuses on the file package you send for review. If you are still choosing a process, start with our screen printing vs embroidery guide.
Start with the garment and print size
Identify the garment style, fabric and colour before reviewing the graphic. A design intended for a light jersey T-shirt needs to be assessed again if the garment changes to a dark hoodie or a different fabric.
Record the artwork’s final width and height with units for each print location separately: front, back, chest, sleeve or another named area. Keep its proportions intact; if only one dimension is fixed, say so. Do not rely on the apparent size in a screenshot or mock-up.
For placement, name the garment face and define the measurement points. For example, distinguish the top of the graphic from its centre, and the collar seam from the collar’s outer edge. Mark the same points on a simple preview. Flag nearby seams, pockets, ribs and zips, and say whether the graphic size and placement should stay the same across garment sizes or need review.
Check the artwork, not just its file extension
For lettering, logos and solid geometric designs, prepare editable vector artwork. Common handoff formats include Adobe Illustrator (.ai), EPS (.eps) and vector PDF. Confirm the file format and application version with the printer before exporting the delivery copy.
An AI, EPS or PDF file is not proof that every element inside it is vector. Placing a small JPEG in a vector document does not turn the photograph into editable paths or restore missing detail. Check the actual objects and any embedded or linked images.
For photographs and tonal designs, keep the original high-resolution raster assets available for review. A design can combine vector and raster elements; the separation approach depends on the artwork rather than its filename alone.
Supply a separate PNG or PDF preview showing the overall design and its position on the garment. Label it as a placement preview and use the same revision as the source file. The preview communicates scale and appearance; the editable artwork remains a separate part of the handoff.
Check resolution at the intended print size
For a raster element, calculate the effective pixels per inch at the proposed output size:
Effective PPI = pixel width ÷ print width in inches.
Suppose an image is 2,400 pixels wide:
- At 8 inches wide, it provides 300 PPI.
- At 12 inches wide, it provides 200 PPI.
- If working in millimetres, divide the print width by 25.4 to convert it to inches first.
The same image provides less detail per inch when printed larger. Image PPI is different from a printer’s dots-per-inch setting. Confirm the suitable source resolution for the design and print workflow before resizing or exporting.
Changing a file’s resolution label without changing its pixels does not add detail. Resampling can create additional pixels, but it is not evidence that lost lettering, edges or texture have been recovered. Request the original artwork when a web thumbnail is the only available source.
Resolve fonts and linked images
Check spelling, punctuation and line breaks before preparing the delivery copy. If outlined text is requested, convert the text in that copy and retain a separate editable master. Outlined characters become shapes rather than normally editable text, so later wording changes are easier from the master.
Check for missing linked images. As agreed with the recipient, embed the assets or package the links with the document, then reopen the delivery package to confirm that nothing is missing. Only include font files when their licence permits sharing.
Review hidden objects, unused sketches and old design alternatives in the delivery copy so there is no doubt about which artwork to print. Keep garment mock-ups and background references separate from the print artwork, while preserving any intentional fills and prepared colour separations. Retain the editable master before cleaning up or converting the delivery copy.
Use one clear revision identifier, such as r03, across the artwork, preview and notes. State what changed, and keep superseded versions out of the current approval package. A filename like final-new-final does not identify which artwork should be reviewed.
Specify colour and flag difficult details
List the intended ink colours using the reference system agreed for the project. If you use Pantone references, include the full code and suffix rather than a colour name alone. State the garment colour and fabric composition alongside the ink references, then confirm colour on the intended material.
Explain every white area in the artwork: should it be printed with white ink, or left unprinted so the garment colour shows through? Keep that instruction distinct from any white background used only in the mock-up. Ask the printer to confirm whether an underbase is needed for the chosen garment and colour effect.
Describe the intended finish and hand feel, and name the ink or process if it has already been selected. Otherwise, share the desired result for review rather than guessing the production settings.
Do not automatically convert every design to CMYK, or assume the number of visible design colours equals the final screen count. Mark gradients, transparency, fine lines, small lettering and narrow unprinted gaps for review. Preserve editable effects until the production approach is agreed; let the printer confirm separations, halftone settings and any trapping needed for registration.
Build a clear artwork handoff
Before sending, check that the package contains these six items:
- Source artwork: the editable vector or original raster assets, in the agreed format and current revision.
- Final dimensions: width, height and units for every print location, including any size-dependent changes.
- Placement preview: a separate PNG or PDF showing the garment face, graphic position and named measurement points.
- Colour and finish brief: fabric composition, garment colour, ink references, white-area treatment and intended finish.
- Supporting assets: all required linked images and any legally shareable dependencies.
- Revision note: what changed, what remains undecided and which files replace earlier versions.
For a new garment development, connect this package to the same style and revision used in the clothing tech pack. Avoid maintaining a separate, conflicting set of garment specifications inside the artwork folder.
A placement note you can adapt
Example placement note — replace the dimensions and garment details with those for your project:
Style: Project Tee. Garment: cream jersey, sample size M. Artwork: r03. Front graphic: 200 mm wide × 240 mm high, centred on the body’s centre line. Proposed top edge: 80 mm below the centre-front collar seam. Please review placement across the size range. Two intended ink colours; references and any underbase requirement remain to be agreed.
This note separates the buyer’s proposal from open production questions. Replace every example value with the actual project information and show the same reference points in the placement preview.
Separate file review from sample approval
A file may open correctly and still require adjustments before printing. Likewise, approval of a placement mock-up is not approval of colour, coverage, detail or hand feel on a garment.
Agree which named artwork revision and sample will be reviewed. Record any changes to scale, position, colour or effects before production approval. The clothing sample approval checklist explains how to keep the sample and revision record connected.
For a DRIOV project, start with the screen printing service and send an enquiry with the garment, quantity range and artwork direction. After submitting, reply to the confirmation email to attach the source files and placement brief; the website form itself does not upload artwork. If the confirmation does not arrive, email wholesale@driov.com and include your enquiry reference if available.
Before sending, ask one final question: could someone who has never seen this design distinguish the current artwork, the proposed placement and the decisions still awaiting approval?