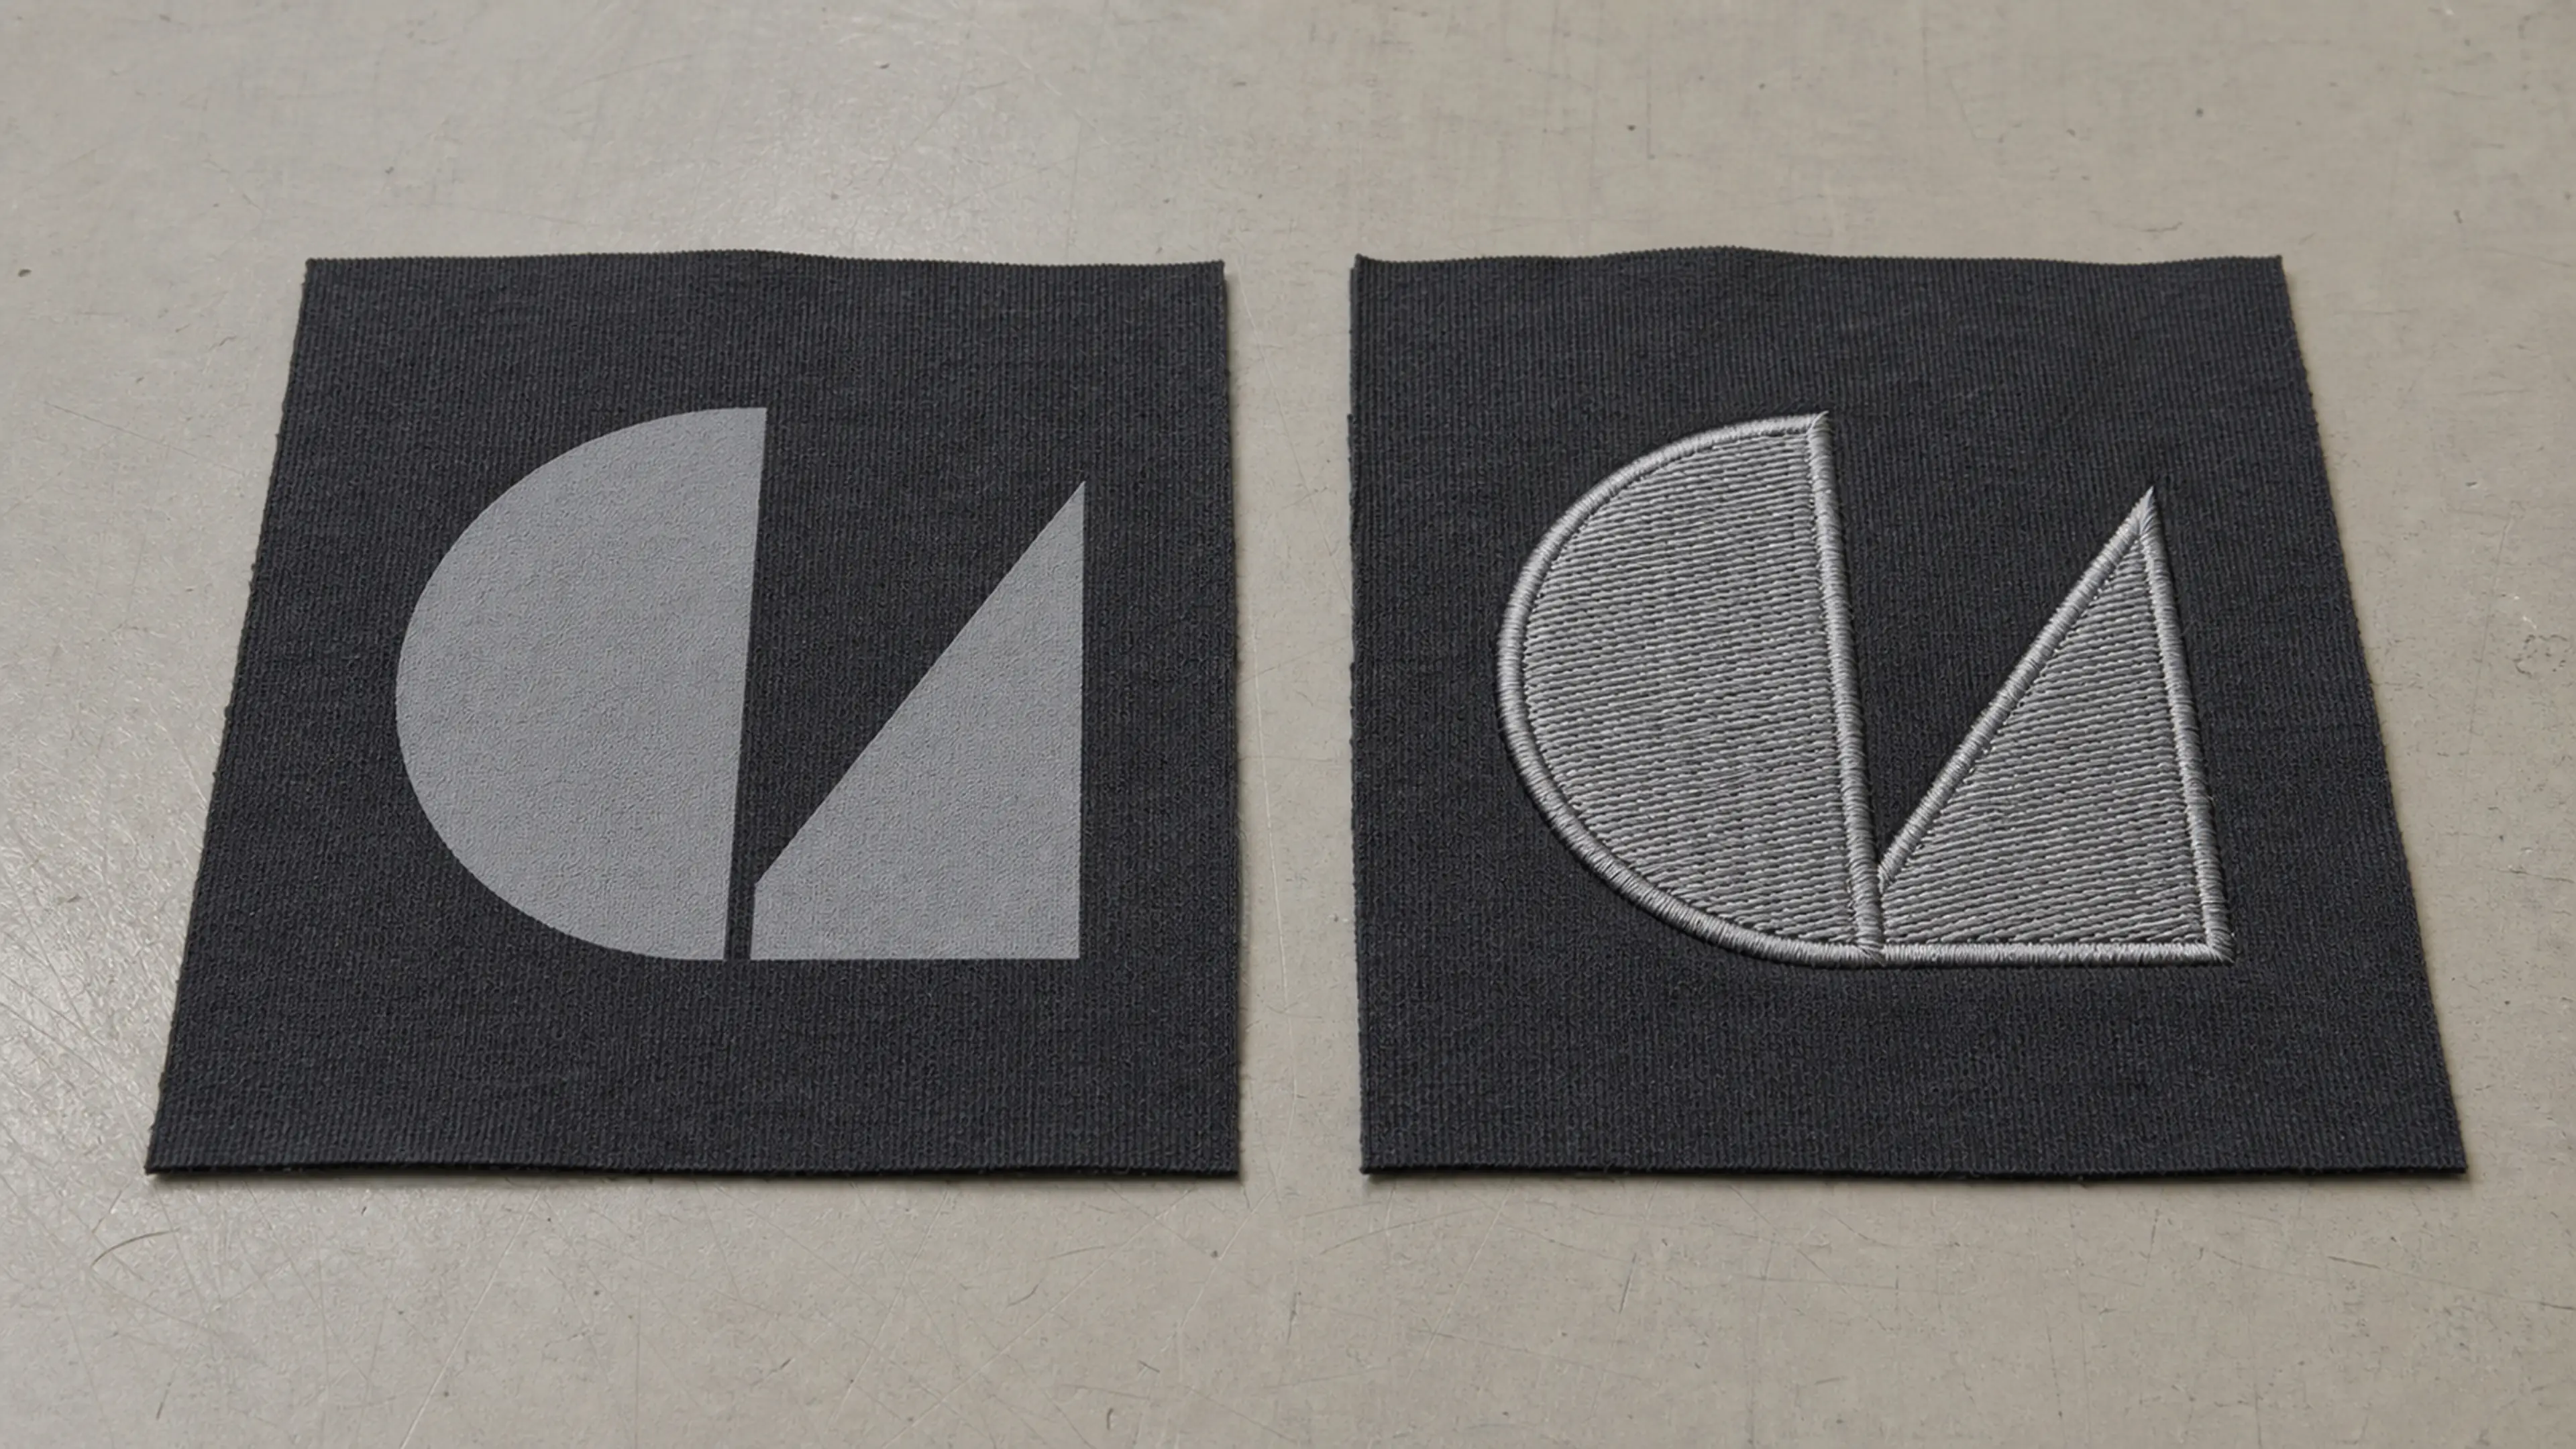
Compare screen printing vs embroidery, then review digital printing and heat transfer against garment fabric, artwork, placement and production needs.
Screen printing creates an ink-based graphic surface, while embroidery adds raised thread texture. The practical choice depends on the intended visual effect and hand feel, artwork detail, garment stability, placement, cost scope and the physical sample and care review required by the project.
Screen printing vs embroidery at a glance
| Decision | Screen printing | Embroidery |
|---|---|---|
| Visual effect and hand feel | An ink-based graphic whose coverage and ink system influence the surface feel and breathability | A dimensional thread surface whose stitch density, backing and reverse finish influence stiffness and wearer contact |
| Artwork detail | Final-size colour separations, lines, halftones, underbase and coverage must be reviewable | Artwork must work as digitised stitch paths; small lettering and fine detail may need simplification at final size |
| Fabric stability | The surface and garment must remain compatible with printing and curing; stretch, texture and construction can interrupt coverage | The fabric must support the stitch plan; backing and hooping may be needed to control distortion or puckering |
| Placement | The printable area must allow even contact and account for seams, ribs, pockets, zips and size grading | Hooping, machine access, linings, pockets, seams and the reverse finish can limit the usable area or affect production stage |
| Cost drivers | Screen setup, colour count, artwork size and coverage, garment handling, quantity and required approvals | Digitising, stitch count and coverage, artwork size, thread changes, backing, garment access, quantity and required approvals |
| Sample and care review | Approve the exact artwork on the intended garment, then assess colour, registration, opacity and surface against the project-defined care or use test | Approve a sew-out on the intended garment, then assess detail, puckering, thread coverage, reverse finish and comfort against the project-defined care or use test |
No method is automatically best or lower cost. Compare quotations only when the garment, artwork, placement, quantity range, sample scope and approval requirements are the same.
This Resource owns the selection comparison. Once a direction is shortlisted, use the screen printing service or embroidery service page for its process definition and production-specific requirements.
When to compare digital printing or heat transfer
| Method | Consider it when | Compare before approval |
|---|---|---|
| Digital garment printing | Detailed, tonal or multi-colour artwork makes printed detail and colour flexibility more important than stitched texture | Garment composition, colour and surface; artwork quality; opacity; hand feel; and the physical sample result |
| Heat transfer | Names, numbers, item-level variation, small placements or selected detailed graphics make a prepared transfer practical | Fabric heat sensitivity, stretch, seams, graphic coverage, edge condition, surface feel and the physical sample result |
These methods are separate decoration directions, not automatic fallbacks. Shortlist them from the garment and artwork brief, then move process-specific settings and production controls to the relevant Service page.
Compare the final garment and artwork
Supply vector artwork where practical or a high-resolution source at final dimensions. State the colour reference, artwork size, placement measurements from defined garment points and the intended visual effect and hand feel.
Review the correct artwork revision, colour count, gradients, transparency, line and text detail, coverage, seams and whether placement must change between garment sizes. If the selected blank cannot support the intended placement, fabric or production stage, compare blank apparel customization with full custom garment development before approving the decoration route.
Once screen printing is selected, use the artwork preparation checklist to organise source files, final-size resolution, fonts, linked assets and the placement brief.
Treat labels and packaging as a separate workstream
Private labels, care information, hangtags, barcode stickers and packaging are brand, product-information and presentation components, not decoration methods. Keep them connected to the approved garment and SKU plan, but give each component its own dimensions, colours, materials, wording, placement and attachment record.
Identify each destination market and the party responsible for confirming the applicable label, fibre-content, care, language and product-information requirements. Final wording should pass the project’s appropriate compliance review before production; approval of a decoration sample does not approve market-specific label content.
Define the sample and test before approval
Do not describe a decoration result as durable without project-specific evidence. When care or use performance is part of the brief, record all three of the following before testing:
- Test method: the exact wash, care, use or other relevant procedure, including any conditions or cycle count confirmed for the project.
- Sample stage: whether the item is an artwork trial, development sample or production-representative approval sample, with the garment, artwork and process version identified.
- Acceptance criteria: the observable or measurable changes that are allowed after testing, such as agreed limits for colour, cracking, edge lift, adhesion, distortion, puckering, thread condition or garment dimensions.
Record who conducted the test, who reviewed the result and which named sample was assessed. A pass applies only to that agreed method, sample stage and acceptance criteria; it is not a general performance claim for every fabric, care method or market.
Decoration sample checklist
- Confirm garment style, size, colour, fabric and construction stage.
- Confirm artwork name, revision, final dimensions, colour reference and placement.
- Compare the intended visual effect, hand feel and wearer contact.
- Inspect the method-specific surface, edges, coverage, reverse finish and garment distortion.
- Run the agreed test method on the named sample stage.
- Compare the result with the recorded acceptance criteria.
- Photograph, name and retain the approved reference for production comparison.
Information to send for method review
Share the garment or fabric, artwork source file, final size, colour references, placement, quantity range, intended use, destination, sample and test requirements, and any separate labels or packaging. If the garment is not yet selected, explain the fit, fabric and weight direction so decoration is not evaluated against the wrong surface.