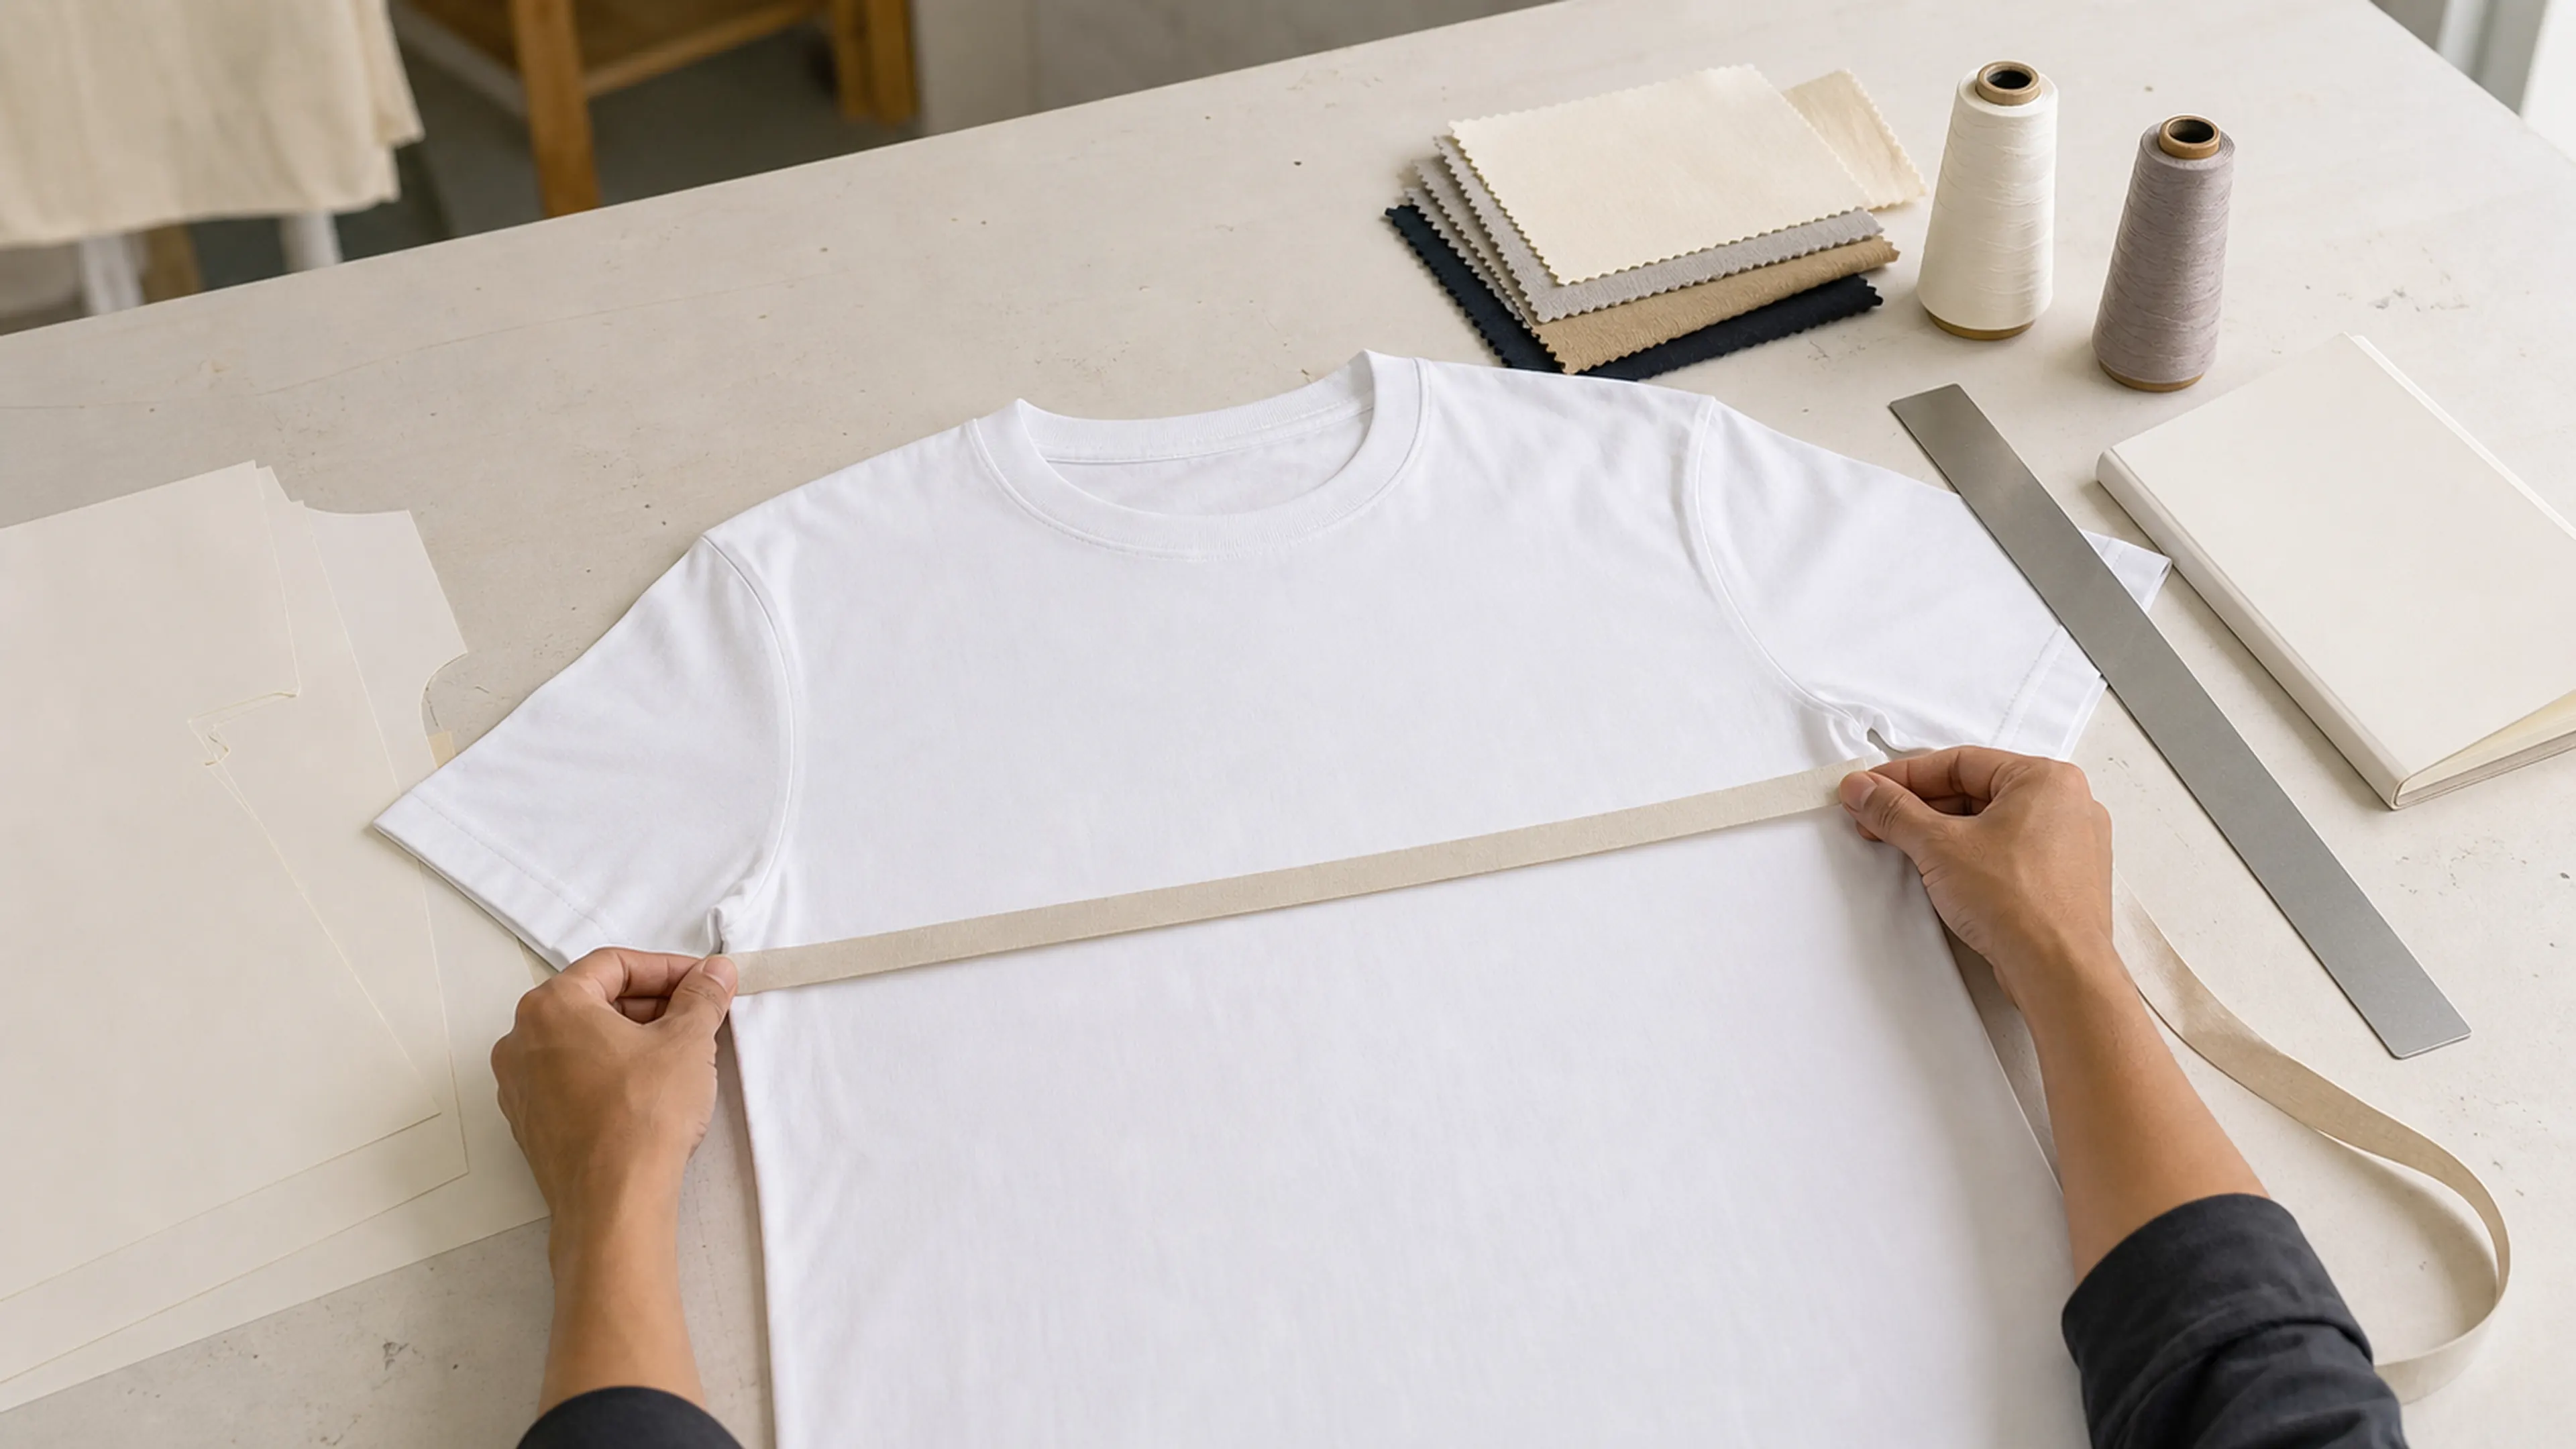
Learn how to make a clothing tech pack by organising measurements, materials, construction, artwork, labels and approval notes for manufacturer review.
A clothing tech pack is the working record that connects a design idea to sampling and production. It does not need to answer every question before the first manufacturer review, but it should show what is approved, what is still a direction and who owns each open decision.
What a useful tech pack usually contains
| Section | Include | Why it matters |
|---|---|---|
| Product identity | Style name, style number, category, season and revision | Prevents comments moving between styles or old files |
| Design views | Clear front, back and relevant detail drawings | Shows proportions, panels, pockets, seams and placements |
| Measurements | Point-of-measure diagram, base-size values and grading direction | Defines fit in numbers rather than size names alone |
| Materials | Fabric composition, structure, GSM, colour and hand-feel direction | Connects appearance with construction and performance |
| Construction | Seam type, stitch type, rib, closure, pocket and finishing details | Gives the sample room enough information to build the garment |
| Branding | Artwork files, final dimensions, colours and placements | Prevents mock-up scale from becoming an accidental production instruction |
| Labels and packing | Brand, size, care, hangtag, barcode and packaging requirements | Keeps garment identity and presentation in the same approval record |
Start with a controlled cover page
Give every style a consistent name or code. Record the revision date and identify whether the file is for quotation, development sampling, fit review or production approval. A file named “final-v7-new” creates more risk than a simple revision sequence with a change log.
Include contact details and the intended destination market. Market context can affect fibre, care and other label information. The buyer should confirm market-specific requirements and final label wording with a qualified adviser, while the tech pack records who supplies, checks and approves each item.
Draw the garment views that carry decisions
Flat sketches commonly show front and back. Add inside, side or close-up views when they explain construction that cannot be read from the main drawing. Use construction callouts for seam type, stitch type, pockets, hood structure, collars, rib, closures, panels, wash effects and decoration.
Reference photos can communicate direction, but label exactly what each reference is being used for. “Use this hoodie” is ambiguous; “use this hood volume, not the pocket or fabric” is reviewable.
Define measurements with points of measure
Do not rely on S, M or L alone. Name each measurement, show where it starts and ends, and state whether the value is a full circumference or a half measurement. Include the base size first, then add grading rules or the full size table when ready.
Useful upper-body points can include:
- half chest or body width;
- body length from the defined high point;
- shoulder width;
- sleeve length and opening;
- neck width and drop;
- rib height, hood opening or pocket position where relevant.
Use the apparel size and measurement guide to organise fit discussions. Tolerances should be reviewed with the specific product and construction rather than copied from an unrelated style.
Describe fabric beyond one GSM number
State fibre composition, knit or weave, target GSM, stretch direction, surface, wash or finishing and intended hand feel. If the brief includes a performance requirement, state the test method, acceptance criteria and which party will arrange the test, review the result and confirm acceptance. If colour is important, include a reference system or an approved physical standard instead of relying only on screen colour.
The T-shirt GSM guide explains why weight alone does not define opacity, softness, recovery or quality. A manufacturer may need to propose material options when the exact construction is not yet fixed; record those proposals as options, not silent replacements.
Prepare construction and trim callouts
Use construction callouts to identify seam type and stitch type where they affect the result. Show rib, tape, elastic, drawcords, eyelets, zips, buttons, snaps and other trims with material, colour, dimensions and placement. If a trim is only an appearance reference, say so.
For full custom clothing, align these details with the sample-led manufacturing route. Some branding or embroidery may need to be applied before panels are assembled.
Supply production-ready artwork information
Include the source artwork separately from the visual mock-up. State final dimensions, placement measurements, colour references and the intended method: screen printing, embroidery, digital printing, heat transfer or another approved process. The apparel decoration guide can help identify questions before sampling.
Do not assume that scaling a mock-up scales embroidery density or print detail correctly. The decoration file must be reviewed at the final production size on the intended garment surface.
Keep sample comments traceable
Use one consolidated comment list for each sample round. Refer to the sample date or revision, mark each point as approve, revise or open, and add a photo or measurement when words alone are unclear.
Sample-review checklist
- Confirm the correct style, size, colour and revision.
- Measure the agreed points using the stated method.
- Review proportions and movement on the intended wearer or form.
- Check fabric, trims, seams and inside finish.
- Check artwork version, scale, colour and placement.
- Record every accepted change in the next tech-pack revision.
What to send first when the tech pack is incomplete
Send the clearest garment references, required fit direction, must-have details, intended material, artwork, quantity range, destination and target timing. Mark uncertainties honestly. A visible open question can be discussed; an unstated assumption usually appears later as a sample revision.
For startup-specific questions about making an early brief reviewable, see the clothing manufacturer guide for startups.
This website currently collects the initial enquiry first. Submit the project summary through the enquiry form. If you receive the confirmation email, reply to it with the tech pack, artwork or reference files; otherwise send them to wholesale@driov.com with the enquiry reference.
When the garment is already defined by an existing blank, a complete cut-and-sew tech pack may be unnecessary. Review Blank Apparel Customization and focus the approval record on the selected style, decoration, labels and packing.