Simplify
Review the logo at production size and resolve lines, small text, gradients and overlapping colour areas.
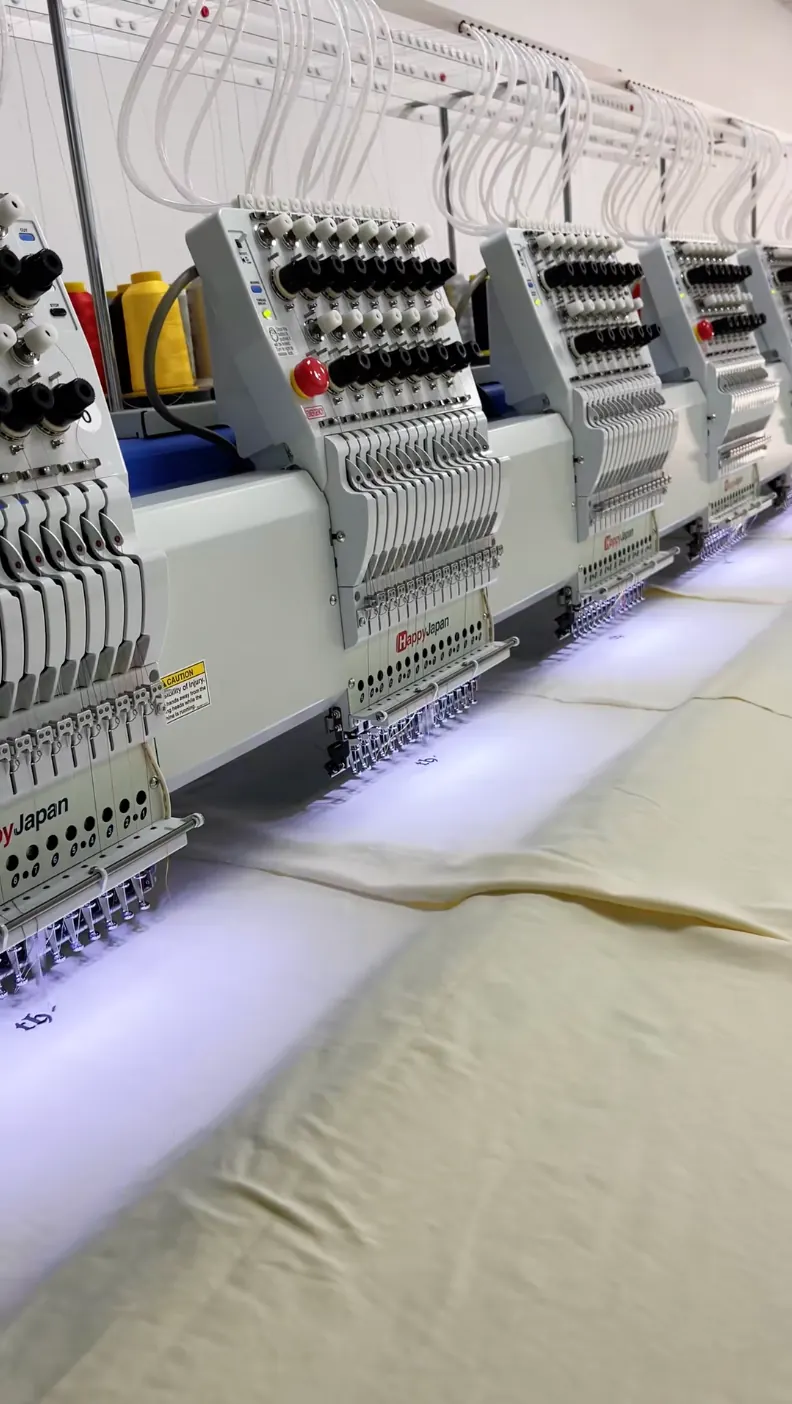
Develop custom apparel embroidery around digitised stitch paths, fabric support, logo scale and garment access for clean, repeatable brand marks.
Garment embroidery builds a logo or graphic with thread stitches controlled by a digitised production file. It adds texture and dimension to polos, hoodies, sweatshirts, jackets and uniforms, but the original artwork must be translated into stitch types, sequence, density and thread colours that work at the final size.
Fabric stability and access are central to custom apparel embroidery. Lightweight jersey may pucker, thick fleece can hide detail and assembled pockets or linings can reduce the usable decoration field. DRIOV reviews backing, hooping, needle, thread, placement and garment construction before the embroidered sample becomes the approval reference.
Where it fits
Review the logo at production size and resolve lines, small text, gradients and overlapping colour areas.
Define stitch types, sequence, density, underlay and thread references for the selected material.
Produce the design on the intended garment or a representative panel to check puckering, registration and coverage.
Compare position, thread colour, surface tension, loose threads and reverse finish with the approved sew-out.
One continuous sequence connects equipment, process control, physical results and the approval reference.
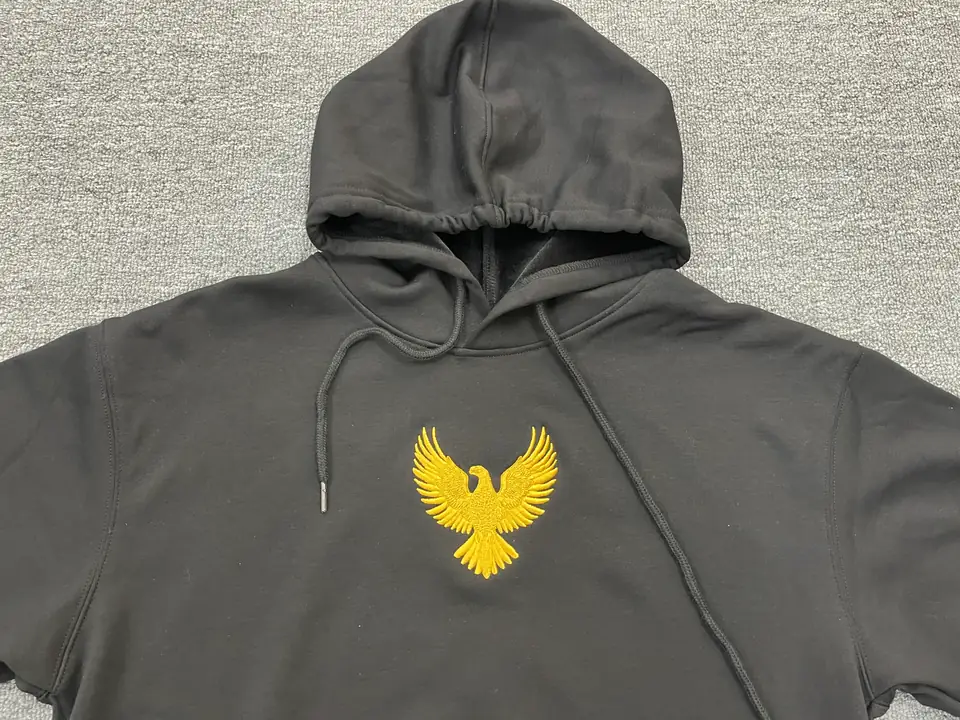
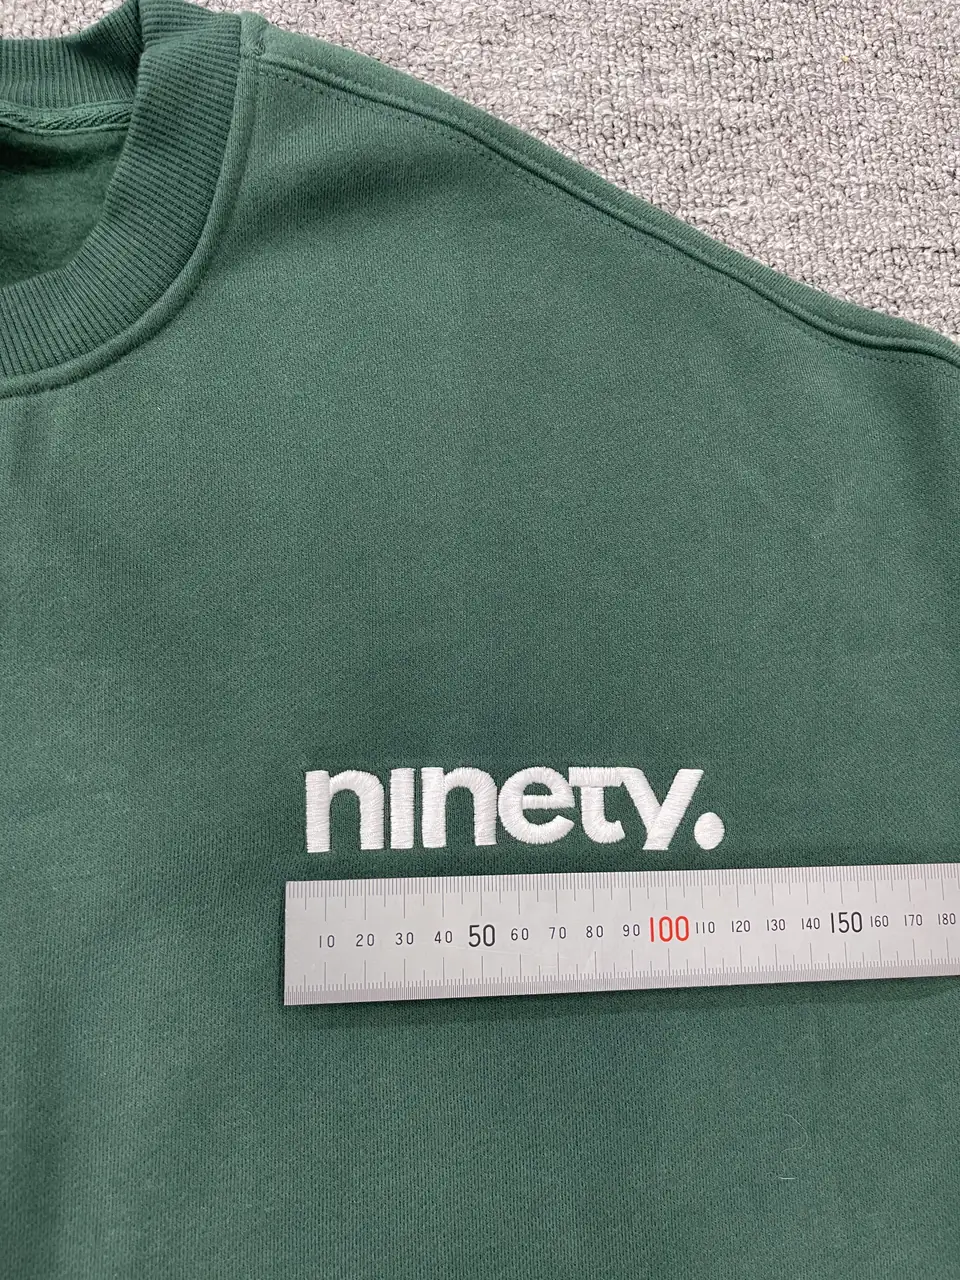
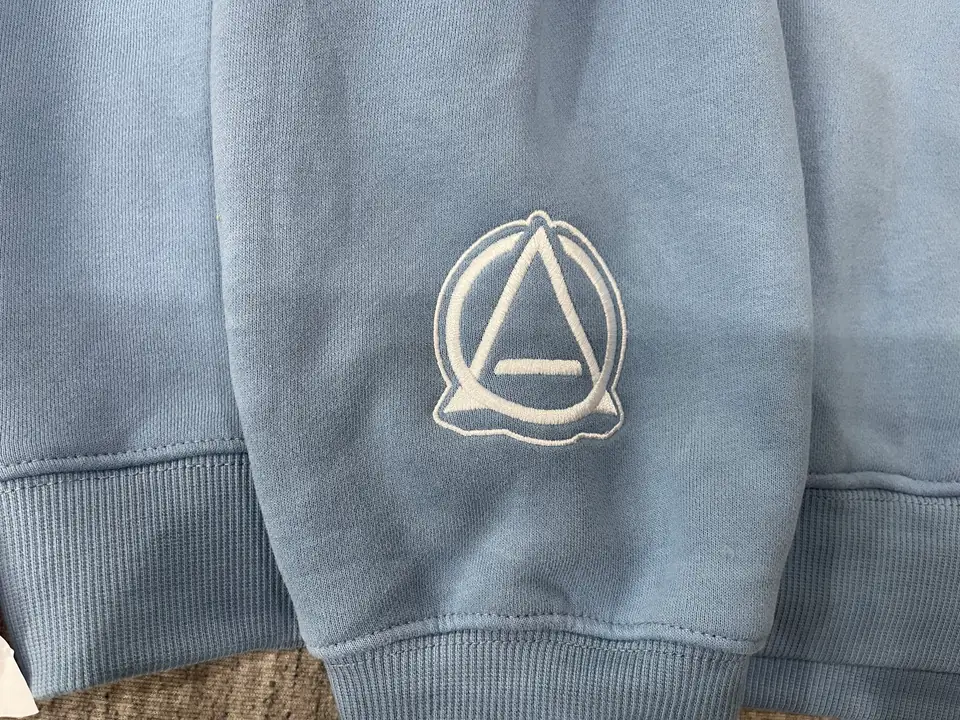
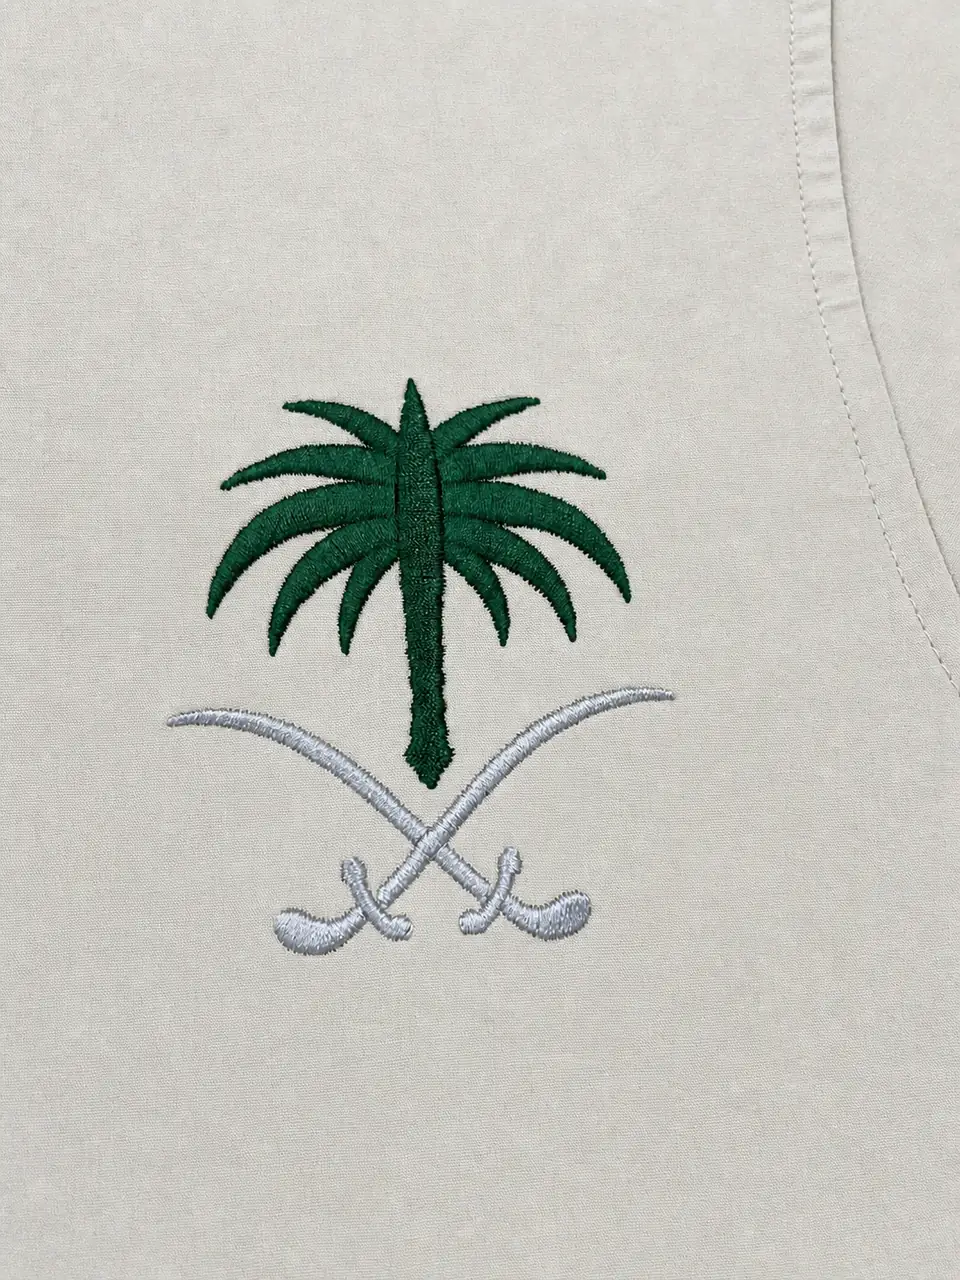
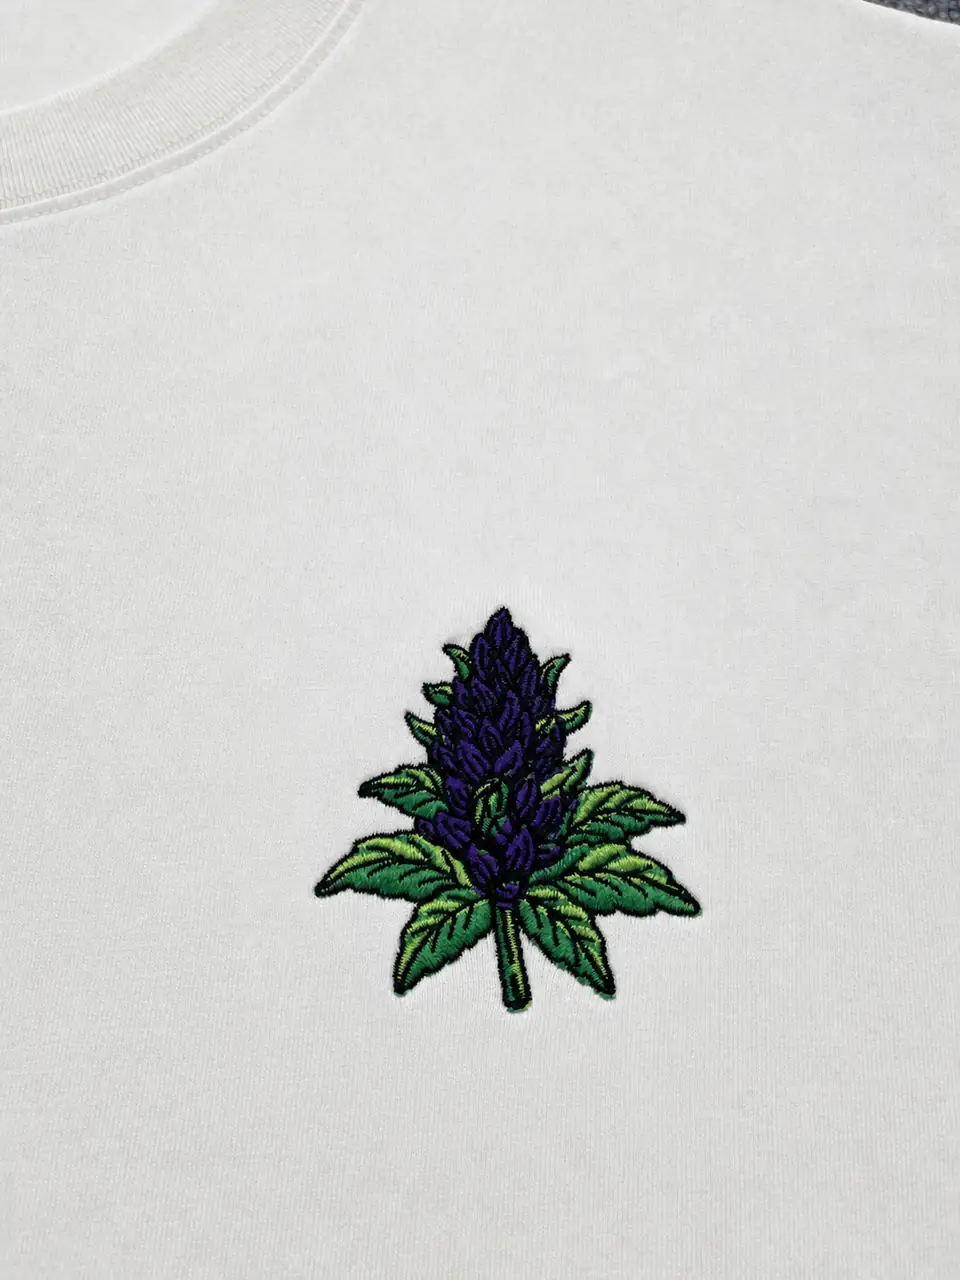
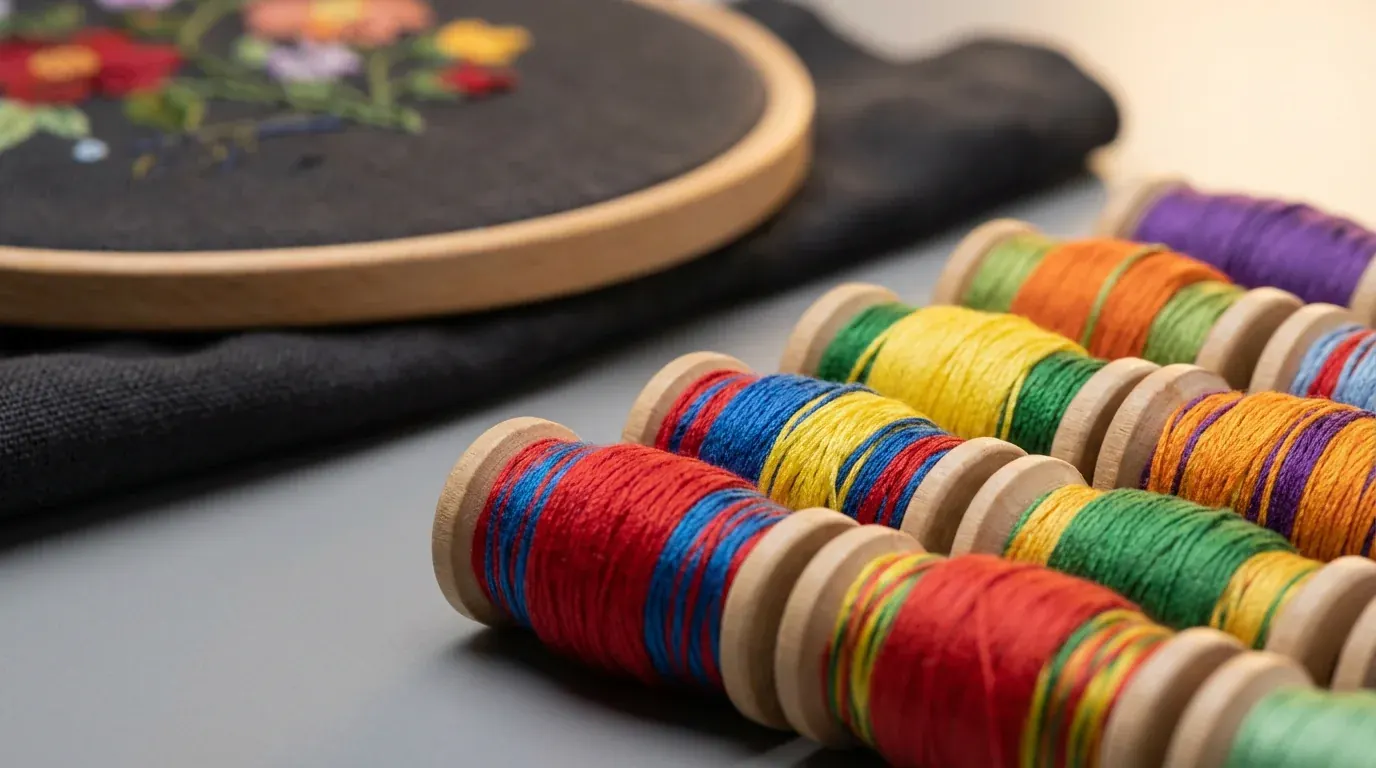
Build stitch paths for the actual logo dimensions; simply scaling one file can change density, detail and fabric distortion.
Read guide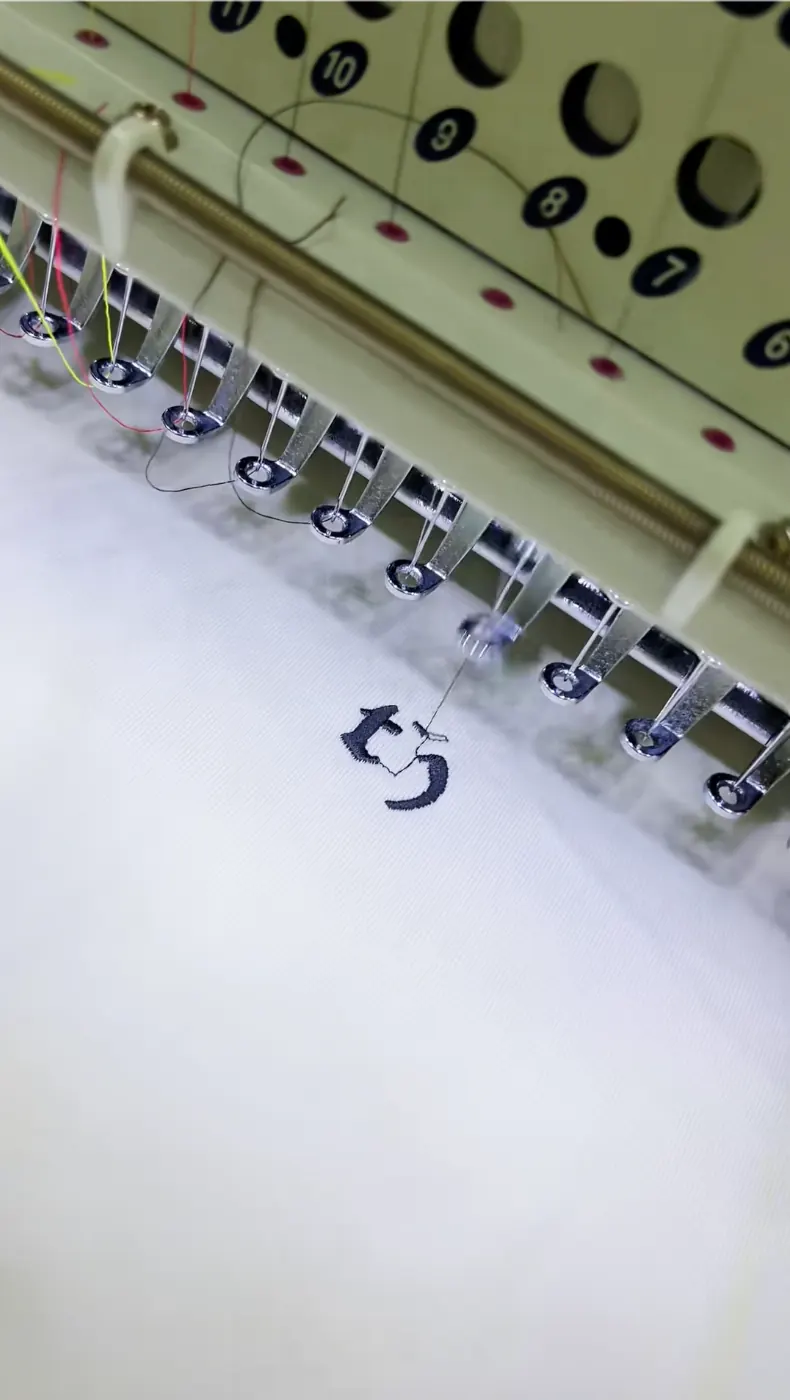
Select backing, hooping and needle according to jersey, piqué, fleece, woven fabric or assembled outerwear structure.
Read guide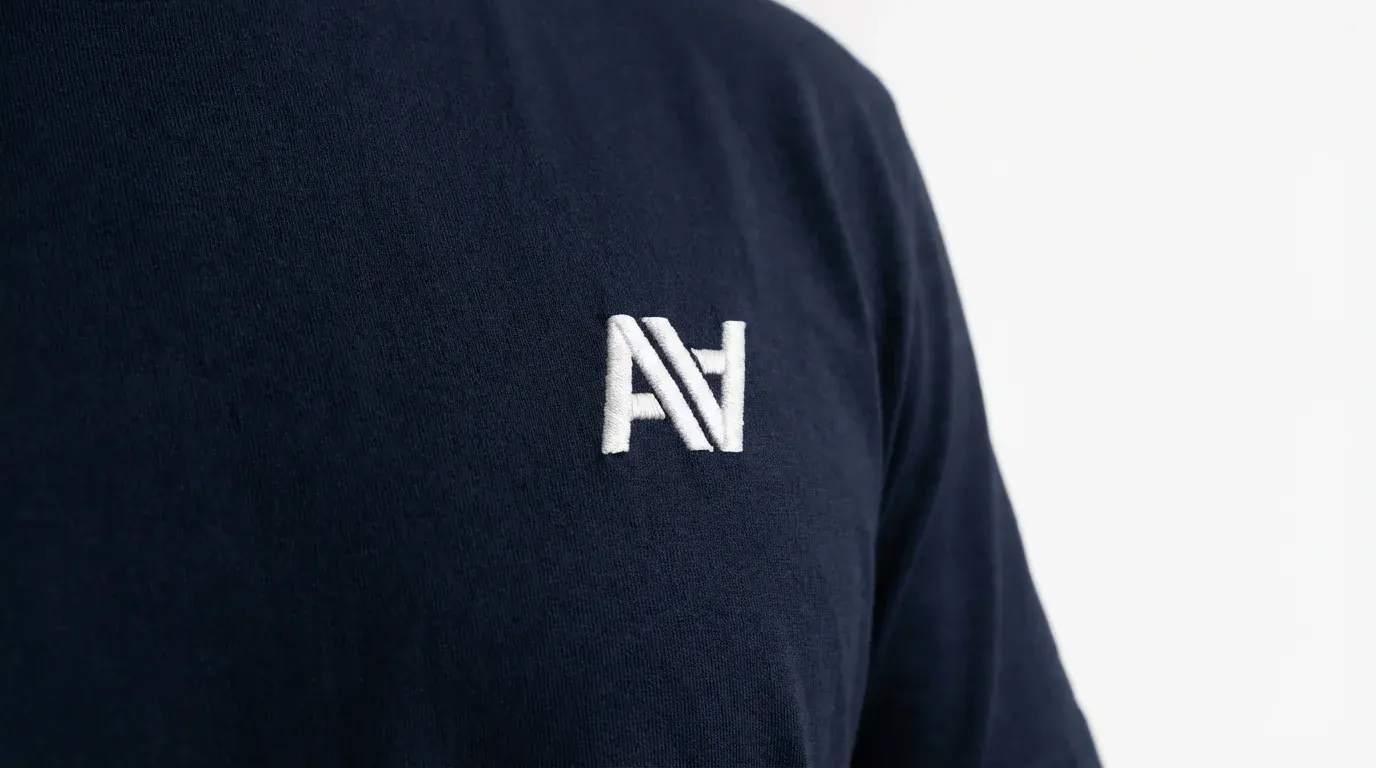
Review reverse-side finish, backing edges, placement and garment weight where embroidery can touch the wearer.
Read guideProcurement paths
The method page owns technical decisions. Product and manufacturing pages define the garment foundation, development scope and enquiry route.
Keep the accepted garment foundation, then approve digitising, support, placement and reverse finish.
Review route Original garment routeUse Full Custom when panel access, lining or construction should be developed around the stitched design.
Review route Compatible garmentCompare piqué structure, placket position and logo scale before the sew-out.
Review route Compatible garmentCompare fleece density, pocket position and usable embroidery areas before the sew-out.
Review routeStable polos, sweatshirts, hoodies and many woven jackets are common starting points. Suitability still depends on fabric weight, backing, panel access, seam position and the logo itself.
A graphic file describes appearance, not how a machine should stitch it. Digitising defines stitch direction, density, sequence and underlay so the design can be produced on the chosen fabric.
Minimum practical size depends on font, thread, fabric and stitch plan. Very fine lettering may need simplification or a larger final size. A sew-out is the reliable way to approve legibility.
Sometimes, but lining, pockets, padding and machine access may limit placement or affect the reverse finish. For custom jackets, planning embroidery before assembly can produce a cleaner result.