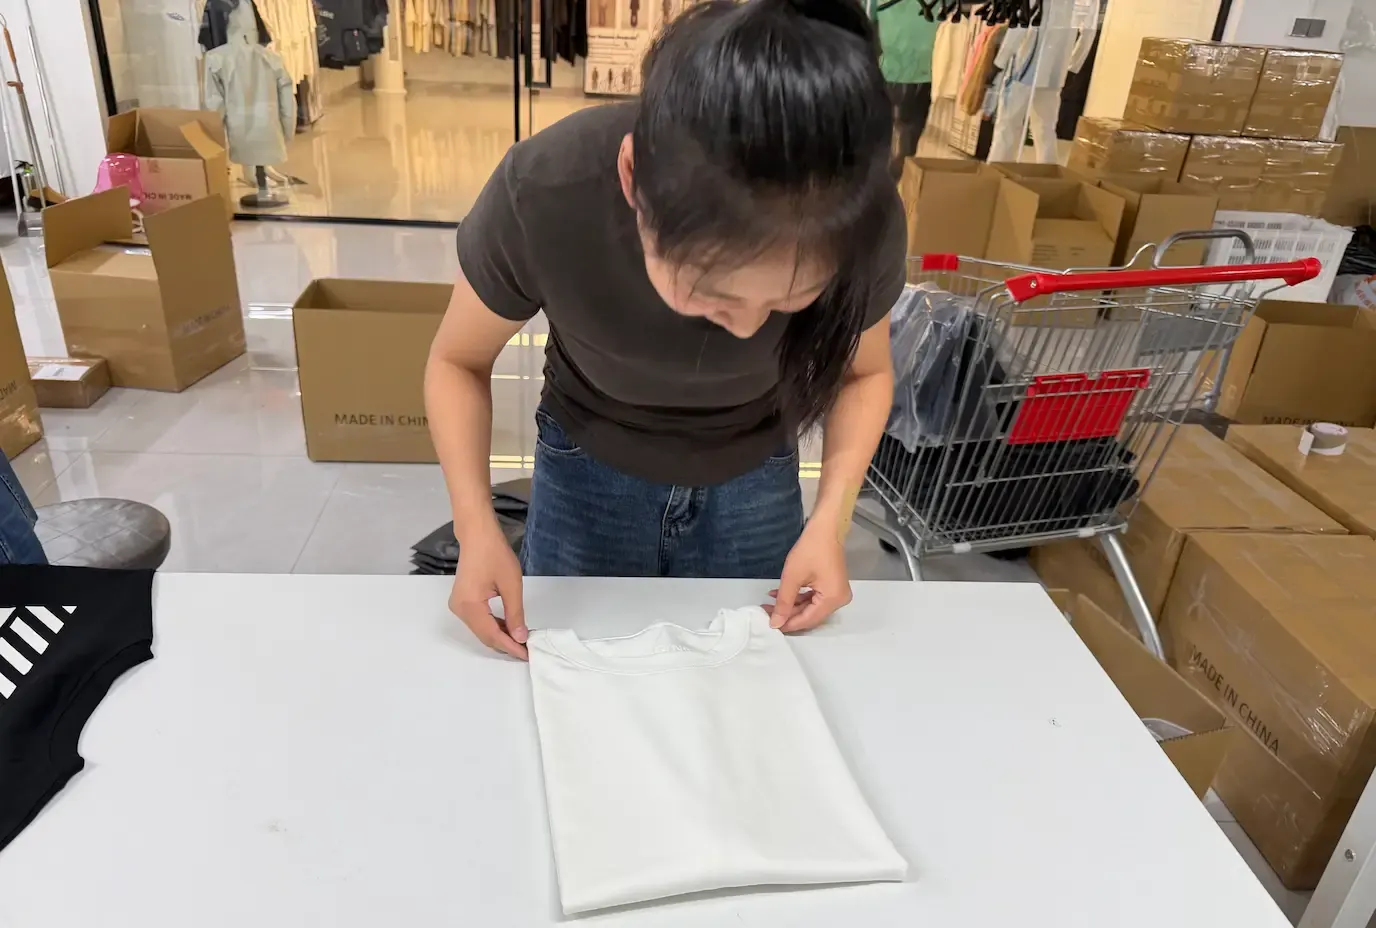
Compare garment dimensions, fit intent, grading and approved tolerances before treating S, M or L as equivalent across products. DRIOV does not use one universal size chart for every blank and custom garment. Each product needs its own point-of-measure method, values, size range and fit context.
Start with the product-specific measurement chart
A size label can help organise a range, but it does not guarantee the same chest, length or shoulder across different products. Compare the actual garment chart and identify whether dimensions are targets, approved sample results or production tolerances.
For a developed blank, use the chart attached to that style. For a full custom garment, define the base size and grading direction through the approved sample and tech pack.
Separate body and garment measurements
Body measurements describe the wearer; garment measurements describe the finished clothing. Compare a product chart with a similar garment measured by the same method. Fit allowance, silhouette and fabric stretch affect how those dimensions relate to the body, so a garment width should not be matched directly to a body circumference.
Half chest normally describes a flat width across the garment at a specified level. A circumference goes around it. Label each value as flat or circumference, and identify whether elastic sections are relaxed or extended. Doubling a flat width does not establish the wearer's chest size or confirm fit.
Define every point of measure
| Measurement | Typical direction | Clarify |
|---|---|---|
| Half chest | Across the garment from the defined underarm points | State whether measured flat and how far below the armhole |
| Body length | From the defined high shoulder point to the hem | Define whether rib or other finishing is included |
| Shoulder width | Between the named shoulder seam points | Dropped shoulders need a consistent seam reference |
| Sleeve length | From shoulder seam or centre back to sleeve end | State the starting method and whether cuff is included |
| Waist and hip | Across the specified level or full circumference | Name the vertical position and flat or body measurement |
| Rise and inseam | Defined points through the crotch and inside leg | Use diagrams because start and end points vary |
These are planning examples, not a universal measurement method. A diagram should show the exact start and end points used for the product.
Start with an empty measurement record
Give each point a stable code and keep its method beside the measurements. Use the following blank fields for each sample; fill them from the agreed specification and actual review.
- Header: style/SKU ___; size ___; sample revision ___; date ___; units ___.
- POM: code/name ___; start/end points ___; flat/circumference ___; garment state ___.
- Values: target ___; actual ___; agreed tolerance ___; difference ___.
- Decision: comment ___; reviewer ___; next action ___; reference photo ___.
Keep blanks until information is available. An empty field is not a passing result. Connect completed records to the sample approval checklist.
Compare fit intent with garment dimensions
Regular, relaxed, oversized, boxy and slim describe relationships, not fixed numbers. Review chest width, body length, shoulder position, sleeve proportion and fabric drape together. A heavyweight boxy T-shirt may use a different balance from a lightweight relaxed tee even when both carry the same size label.
Browse blank apparel by category, then compare the specification shown on each product rather than transferring one chart to another style.
Plan a base size and grading direction
For full custom projects, choose the base size that will be physically sampled first. State the intended wearer and the important fit relationships. Grading then defines how measurements change between sizes; it should not be assumed to add the same amount to every point.
- Identify the base sample size and intended fit model or reference garment.
- Mark critical dimensions that control silhouette or function.
- State the required size range and any market-specific expectations.
- Review how pockets, artwork and trims move or scale between sizes.
- Keep every approved change in the current tech-pack revision.
Use the clothing tech pack guide to connect diagrams, values, grading and sample comments.
Understand tolerance without treating it as a target
A production tolerance describes an accepted range around an approved measurement; it is not permission to change the fit direction. Tolerance depends on fabric, construction, measurement point and agreed inspection method. Confirm it for the actual product rather than copying a generic number.
A grade rule changes the target between sizes; tolerance applies around the target for the size being checked. Record whether grade increments refer to neighbouring sizes or the base size. Keep these fields separate so an allowed production variation cannot become an unintended sizing change.
Record the approved sample, measurement method and tolerance in one place so fit comments and inspection use the same reference.
Measure consistently
- Condition and lay the garment using the agreed method.
- Confirm the correct style, size, colour and sample revision.
- Use a flat surface and do not stretch the fabric unless specified.
- Follow the point-of-measure diagram in the same sequence.
- Record actual results beside targets instead of replacing the targets.
- Photograph unclear points and resolve them before the next sample.
Prepare a before-and-after wash record
When wash response matters, agree the care or laboratory method before comparing results. Record the garment identity, measurement points, wash and drying conditions, and number of cycles. Measure the same points before and after the agreed preparation; retain both readings. Note growth as well as shrinkage, plus changes in seams, twist, trims and fit.
For a formal test, obtain the applicable complete method and agree acceptance criteria with the responsible reviewer. For production wash effects, review garment washing and finishing alongside the garment specification.
Information to send for fit review
Share the garment category, intended fit, wearer or market context, size range, reference garment or measurements and the points that must not change. For original silhouettes, continue to full custom clothing manufacturing. If a developed style already meets the fit brief, review blank apparel customization instead.