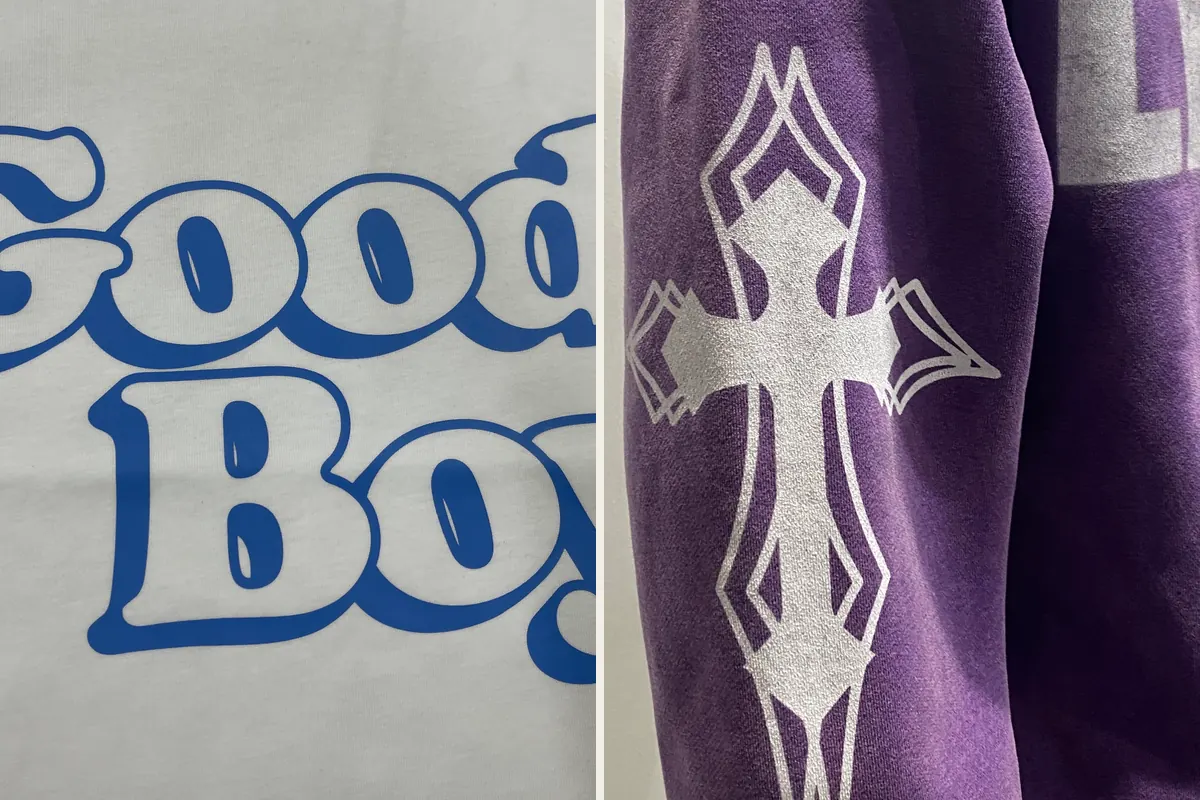
Compare DTG and screen printing by artwork, garment colour, coverage, hand feel and repeat orders, with a same-condition sample review and sourcing checklist.
DTG prints artwork directly onto a garment using inkjet technology. Screen printing pushes ink through prepared mesh stencils, normally building the design in separate colour layers. DTG is worth comparing for photographs, tonal artwork and changing designs; screen printing is worth comparing for repeated graphics with defined colours. The useful choice comes from the artwork, garment and order brief together.
For a clothing project, compare both proposals using the same source file, print size, placement, fabric and garment colour. That makes differences in colour, coverage, hand feel and quotation easier to understand.
How the two printing routes differ
Screen printing starts with artwork separations, screen preparation and registration: aligning the layers so they form the intended image. More visible colours can add preparation, but the final screen count also depends on underbases and the separation approach. Ask the printer to confirm it.
DTG uses a digital file without preparing a separate screen for every colour. Its printable colour range depends on the ink set and workflow. A colourful file is therefore not a promise that every colour on a monitor will appear unchanged on the garment.
The screen-printing service guide explains the garment and artwork information needed for that route. Keep production settings with the printer; your brief should describe the result to approve.
Compare the same artwork at final size
A photograph, a gradient and a solid brand logo raise different questions. Identify the details that must survive: small lettering, fine lines, subtle tonal transitions, narrow gaps or a particular solid colour. Review them at the intended print dimensions rather than enlarging the screen preview.
Screen printing can reproduce tonal artwork through an appropriate separation and halftone approach. DTG can reproduce detailed multicolour artwork, but source quality and the selected garment still matter. Neither method can reliably restore detail missing from the original file.
Use this table to compare proposals and record the physical result:
| Decision | DTG proposal | Screen-printing proposal | Sample review |
|---|---|---|---|
| Colour | Confirm colour conversion and the achievable result | Confirm ink references and separations | Compare key colours under the same light |
| Fine detail | Review the source at final print size | Review lines, lettering and any halftone treatment | Check edges, readable text and details marked as essential |
| Coverage | Identify white ink and the proposed printed area | Identify underbase, ink system and layer plan | Check opacity, unprinted gaps and garment colour showing through |
| Hand feel | Review the actual ink coverage and prepared surface | Review the actual ink deposit and finish | Compare flexibility and feel on both sides of the print |
| Placement | Confirm the usable printing area | Confirm the usable screen-contact area | Check size, position and clearance from garment features |
If either proposal changes the design, keep the change visible in the approval record. A simplified two-colour version and the original photographic version are different artwork options, even when they share a filename.
Fabric, garment colour and white ink
State fibre composition, fabric surface, garment colour and any known finish before requesting the comparison. Cotton-rich jersey is a common starting point for DTG, but compatibility depends on the equipment, ink and preparation. A supplier’s success on one blend does not approve another blend or finish.
On dark garments, white ink can provide a base for the colours above it. DTG systems using white ink commonly require garment pretreatment. The requirements for a light garment printed with colour ink alone can differ. Ask what preparation is proposed for the exact garment rather than assuming every DTG print uses the same treatment.
For screen printing, confirm whether the design needs an underbase and how it affects coverage and feel. Also specify which white areas belong to the printed artwork and which should remain unprinted.
Both routes need a suitable printing surface. Flag seams, pockets, ribs and zips on the placement preview. If the colour, fabric or placement changes, review that version before extending an earlier approval to it.
Hand feel and care need a physical sample
There is no single hand feel for either method. A small open graphic and a large solid panel cover different amounts of the garment. Ink system, white base, coverage and preparation can all influence the result.
Compare the finished samples once the proposed curing process is complete. Flex the decorated area normally, feel its reverse against the skin and check whether its body suits the garment. Record a specific preference, such as “retain Sample B’s softer print area,” alongside the sample reference.
If wash behaviour matters, agree the care method and acceptance criteria before the review. Identify the sample, conditions and observations required, including colour change, print appearance and garment distortion. A method name alone supplies no wash result.
Quantity and repeat orders change the comparison
Screen preparation is part of the quotation, so repeating one design across an order can spread that setup over more garments. DTG removes separate screen preparation, but garment handling, print area, white ink and preparation still belong in the cost scope. There is no universal quantity at which one method becomes cheaper.
Request quotes for the same quantity breakdown, artwork revision, garment and approval scope. Ask whether setup and sampling are separate, then compare the total rather than an unexplained print-only price.
For a planned reorder, confirm:
- Which artwork, garment and approved sample references will be retained.
- Whether screen retention or new preparation affects the next quotation.
- What happens when quantity, garment colour or artwork changes.
- Whether a fresh sample is needed before a changed version is released.
Changing names or graphics within a run is another reason to compare digital printing. State the number of distinct designs and quantities for each, rather than presenting them as one repeated artwork.
Confirm what “digital printing” means
DTG is one digital apparel printing route. Direct-to-film, often called DTF or DTFilm, first prints onto film and transfers the prepared graphic to the garment using heat. It is a different route and should be identified separately in a proposal.
DRIOV’s digital-printing guide uses the broader buyer-facing service name. Confirm the proposed method after the garment and artwork review so sample approval refers to a defined process.
Send one brief and approve a named sample
Prepare a shared brief for both options:
- Garment reference, size, fibre composition, fabric surface and colour.
- Current source artwork and revision, with essential details marked.
- Final dimensions and placement measurements for each print location.
- Colour references, white-area instructions and desired coverage and feel.
- Quantity by garment colour, size and artwork version, plus reorder expectations.
- Sample scope, care expectations and the features that require approval.
The screen-printing artwork checklist helps organise source files, dimensions and placement. Keep the same master artwork for the comparison and identify any production-specific copies separately.
Approve colour, detail, coverage, hand feel and placement against a named physical sample and artwork revision. Mark unresolved items before deciding on the method. Then request a quote with the garment, artwork direction and quantity breakdown so the proposed route can be reviewed as a complete project.